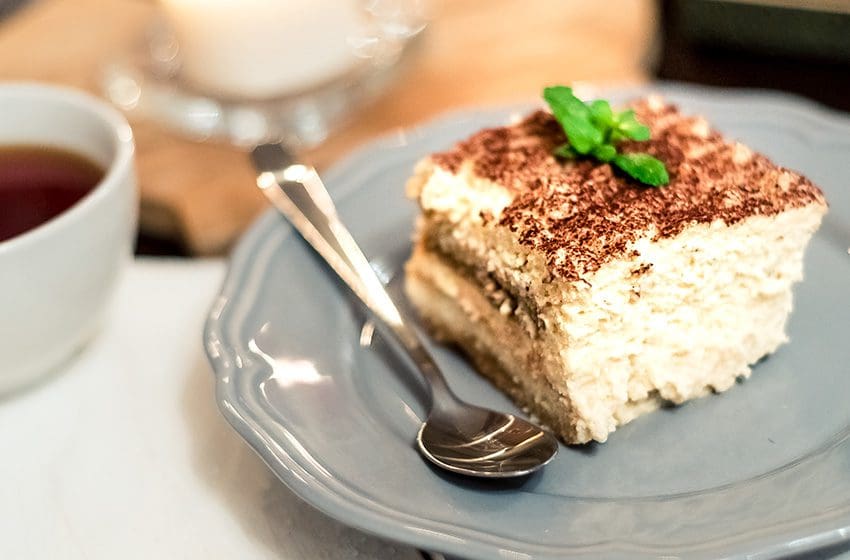
This dessert combines the sweet & robust espresso flavors of tiramisu with the velvety smoothness of a classic cheesecake. And the best part? It requires no baking at all! The beauty of this tiramisu cheesecake lies in its simplicity, making it a perfect choice for any occasion.
Just gather the ingredients, assemble the layers in a springform cheesecake pan, and let it chill in the refrigerator until it cools down and sets up. Whether you have a penchant for traditional cheesecake or crave the flavors of tiramisu, this dessert will satisfy your sweet tooth in the most delightful way!

No-Bake Tiramisu Cheesecake
Ingredients
For the Crust:
- 9 Tbsp (1 stick + 1 Tbsp) salted butter
- 8 oz lady finger cookies
- 2 tsp of Dutch processed cocoa powder
- 1 tsp espresso powder
For the Filling:
- 8 oz cream cheese, softened
- 16 oz (1 lb) mascarpone cheese
- ¼ tsp kosher salt
- ¾ cup confectioner’s sugar (powdered sugar)
- 1 tsp vanilla extract
- ¼ cup coffee-flavored liqueur
- 1 ½ cups cold heavy whipping cream
For the Soaked Lady Finger Cookies:
- ¾ cup warm water
- ¼ cup coffee-flavored liqueur
- 4 oz. lady finger cookies
- Dutch processed cocoa powder, for dusting
- Espresso powder, for dusting
Instructions
- To prepare the crust, melt the butter in a microwave-safe bowl or on the stovetop until fully melted.
- In a food processor, pulse the lady finger cookies until finely crushed.
- Add the cocoa powder and espresso powder to the crushed lady finger cookies, and pulse a few more times to combine.
- Pour the melted butter over the crumb mixture, and pulse until evenly combined.
- Press the mixture into the bottom of a 9” springform pan and set aside.
- To prepare the filling, beat the softened cream cheese and mascarpone cheese together in a large mixing bowl until smooth and creamy.
- Add the kosher salt, confectioner’s (powdered) sugar, vanilla extract, and coffee-flavored liqueur.
- Mix the ingredients until combined.
- *Chill a metal mixing bowl, if whipping your heavy cream by hand.
- In a separate chilled metal mixing bowl, whisk the cold heavy cream until stiff peaks form.
- Gently fold the whipped cream into the cream cheese mixture until thoroughly combined.
- *Try to avoid over-mixing at this stage, as you will deflate the air bubbles from the whipped cream.
- To prepare the remaining lady fingers, start by dissolving espresso powder in warm water, and stir in the coffee flavored liqueur.
- Dip each ladyfinger into the coffee mixture for a few seconds, allowing them to soak up the liquid without becoming too soggy.
- Arrange the soaked ladyfingers in a single layer on top of the crust, covering the entire surface.
- To assemble, start by pouring half of the cream cheese mixture over the lady finger cookies; be sure to spread it evenly with a spatula.
- Repeat the process by layering the remaining soaked lady finger cookies on top of the prepared cream cheese mixture.
- Pour the remaining cream cheese mixture over the ladyfingers, and smooth the top out again with a spatula.
- Cover the springform pan with plastic wrap, and refrigerate for at least 6 hours, or preferably overnight, to allow the cheesecake to set.
- Before serving, remove the sides of the springform pan and dust the top of the cheesecake with Dutch processed cocoa powder.
- Cut into slices, and serve, with hot cups of espresso served on the side.